Organizing and Planning your Campaigns
Who can use this feature? Anyone
Available on: Free, Starter, Growth, Advanced and Ultimate
How to plan your Campaign Calendar
Why use a campaign Calendar
Planning your email campaigns on a calendar helps you see all of your upcoming messages in one place. This makes it easier to organize your communication, maintain a consistent sending schedule, and avoid overlapping or last-minute campaigns.
A campaign calendar also helps you coordinate emails with other marketing activities. For example, you can align newsletters, promotions, product announcements, and social media campaigns with important dates, events, or launches. Seeing these together makes it easier to deliver the right message at the right time.
When different campaign types are planned side by side, you can better balance how often you contact your audience. This helps prevent over-sending while ensuring important messages are not missed. It also gives your team a clear view of what is scheduled, which improves collaboration and reduces the chance of errors.
How to create a campaign in the calendar
-
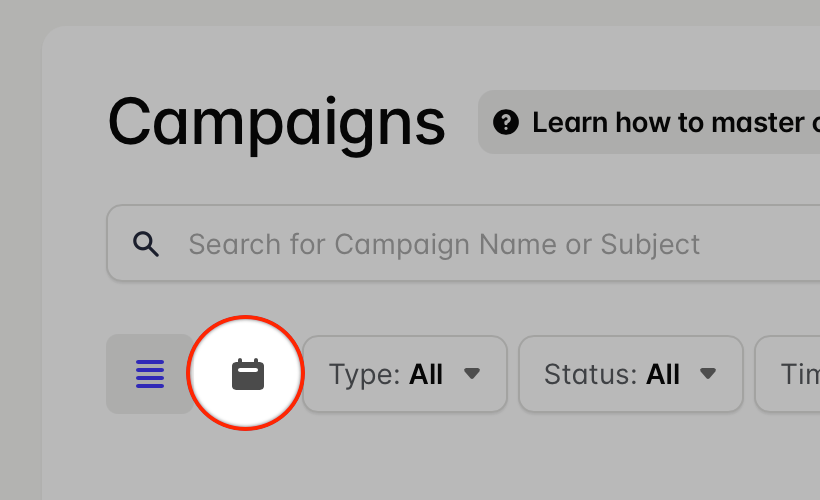
Go to Campaigns > click on the calendar icon in the top left corner
- Click on the + button on a date to create a campaign to be scheduled on that date.
- Once you've stepped through the New Campaign wizard, you'll find that in the Send step, the campaign is scheduled for the date that you created it from.

How to organize your Campaigns using folders
Why use campaign folders?
As your number of campaigns grows, it becomes harder to quickly find what you need or stay confident you’re working on the right campaign. Folders give you a simple structure to keep everything organised in a way that makes sense to you.
Using folders can help you:
- Save time by quickly finding campaigns instead of searching through a long list
- Reduce mistakes by keeping drafts, scheduled, and sent campaigns clearly separated
- Stay consistent with naming and organisation, especially when working in a team
- Scale more easily as your campaign activity increases
A little organization upfront makes day-to-day campaign management faster and less error-prone.
How to create a new Campaign folder
Folders can be created directly from the Campaign view:
- Go to Campaigns > click on the Folder drop down menu at the top of the list
- Use the option to Manage Folders
- Use the button to Add new Folder to create a new one.
How to move a Campaign to a folder
- Use the + button in the Folders column next to the Campaign you want to move.
- Select the folder you want it to be in and you're done.
How to view Campaigns in a specific folder
Once you have your folders setup you can filter your Campaign view using them:
- Go to Campaigns
- Use the Folder drop down at the top of the list and choose the folder you want to view.
Campaign folders are only available on paid Transpond plans.
How to filter your campaigns
As your campaign list grows, filters help you quickly narrow things down so you can find exactly what you need without scrolling.
You can filter campaigns by:
- Status – such as Draft, Awaiting Start, or Finished.
- Type – for example Email, A/B Split Test, Social or Automation.
- Time frame – to view campaigns created within specific period
- Folder – to focus on a specific group of organized campaigns
Using filters makes it easier to stay focused, review performance, and manage your work more efficiently.
How to use the campaign filters
- Go to Campaigns
- Use the drop down menus at the top of the list to select what Type of campaigns, which Status to display, Timeframe or Folder to show campaigns for.

How to change what details are displayed in the campaign list
You can customize what details you see in the campaigns list, to help you get just the info you need at a glance. To do that:
- Go to Campaigns
- Use the table icon on the top right hand side of the list to expand your options.
- Using the Advanced toggle you can turn on and off details to display just the options you need.
