Customize and Use Chat
Transpond chat helps teams communicate faster, stay organized, and deliver a more consistent customer experience. Whether you’re answering questions, sharing updates, or collaborating internally, chat gives you a central place to keep conversations moving without switching between tools.
This article explains how to customize and use chat in Transpond so it works the way your team does. You’ll learn how to adjust chat settings, personalize the experience for your workflows, and use key features that help your team respond more efficiently and confidently. By tailoring chat to your needs, you can reduce repetitive work, improve communication, and make it easier for everyone to stay aligned.
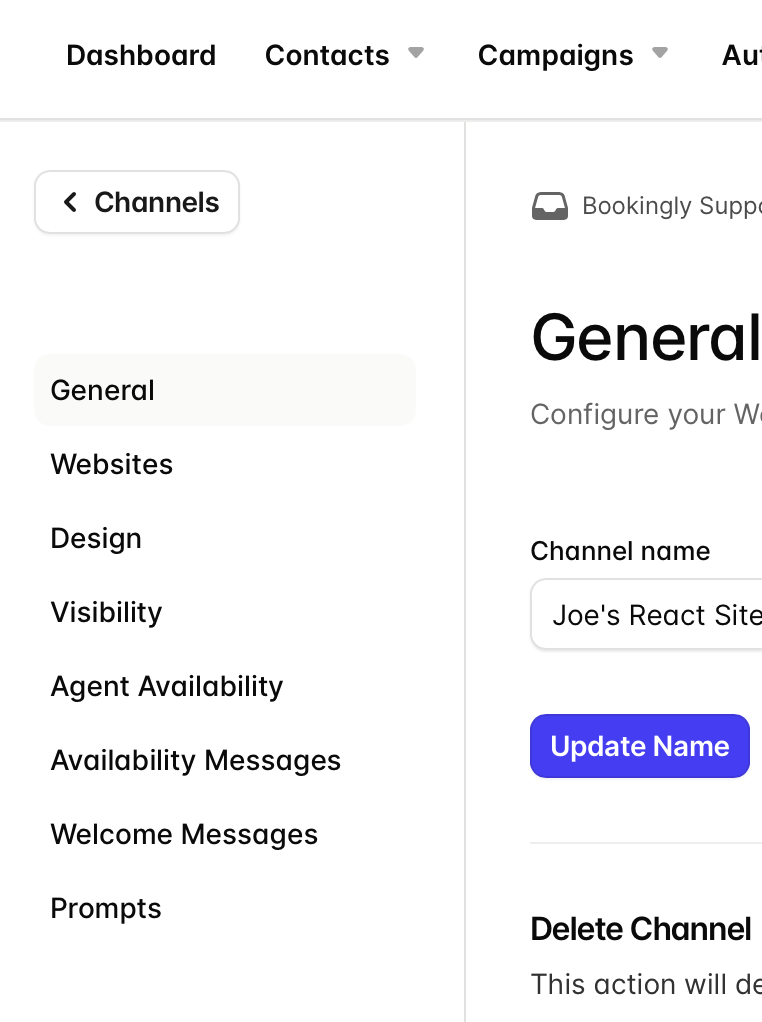
Open your Chat settings
- Open Conversations
- Click your Inbox name
- Go to Channels
- Select your Chat Channel
From here, you can manage all chat customization options.
Choose where Chat appears
To control which websites or pages show your chat widget:
- Open your Chat Channel
- Go to Websites
- Check or uncheck the websites where Chat should appear
- Click Save Websites
You can also copy your tracking script from this section if needed.
Customize the chat widget
To update the appearance of your widget:
- Open your Chat Channel
- Go to Design
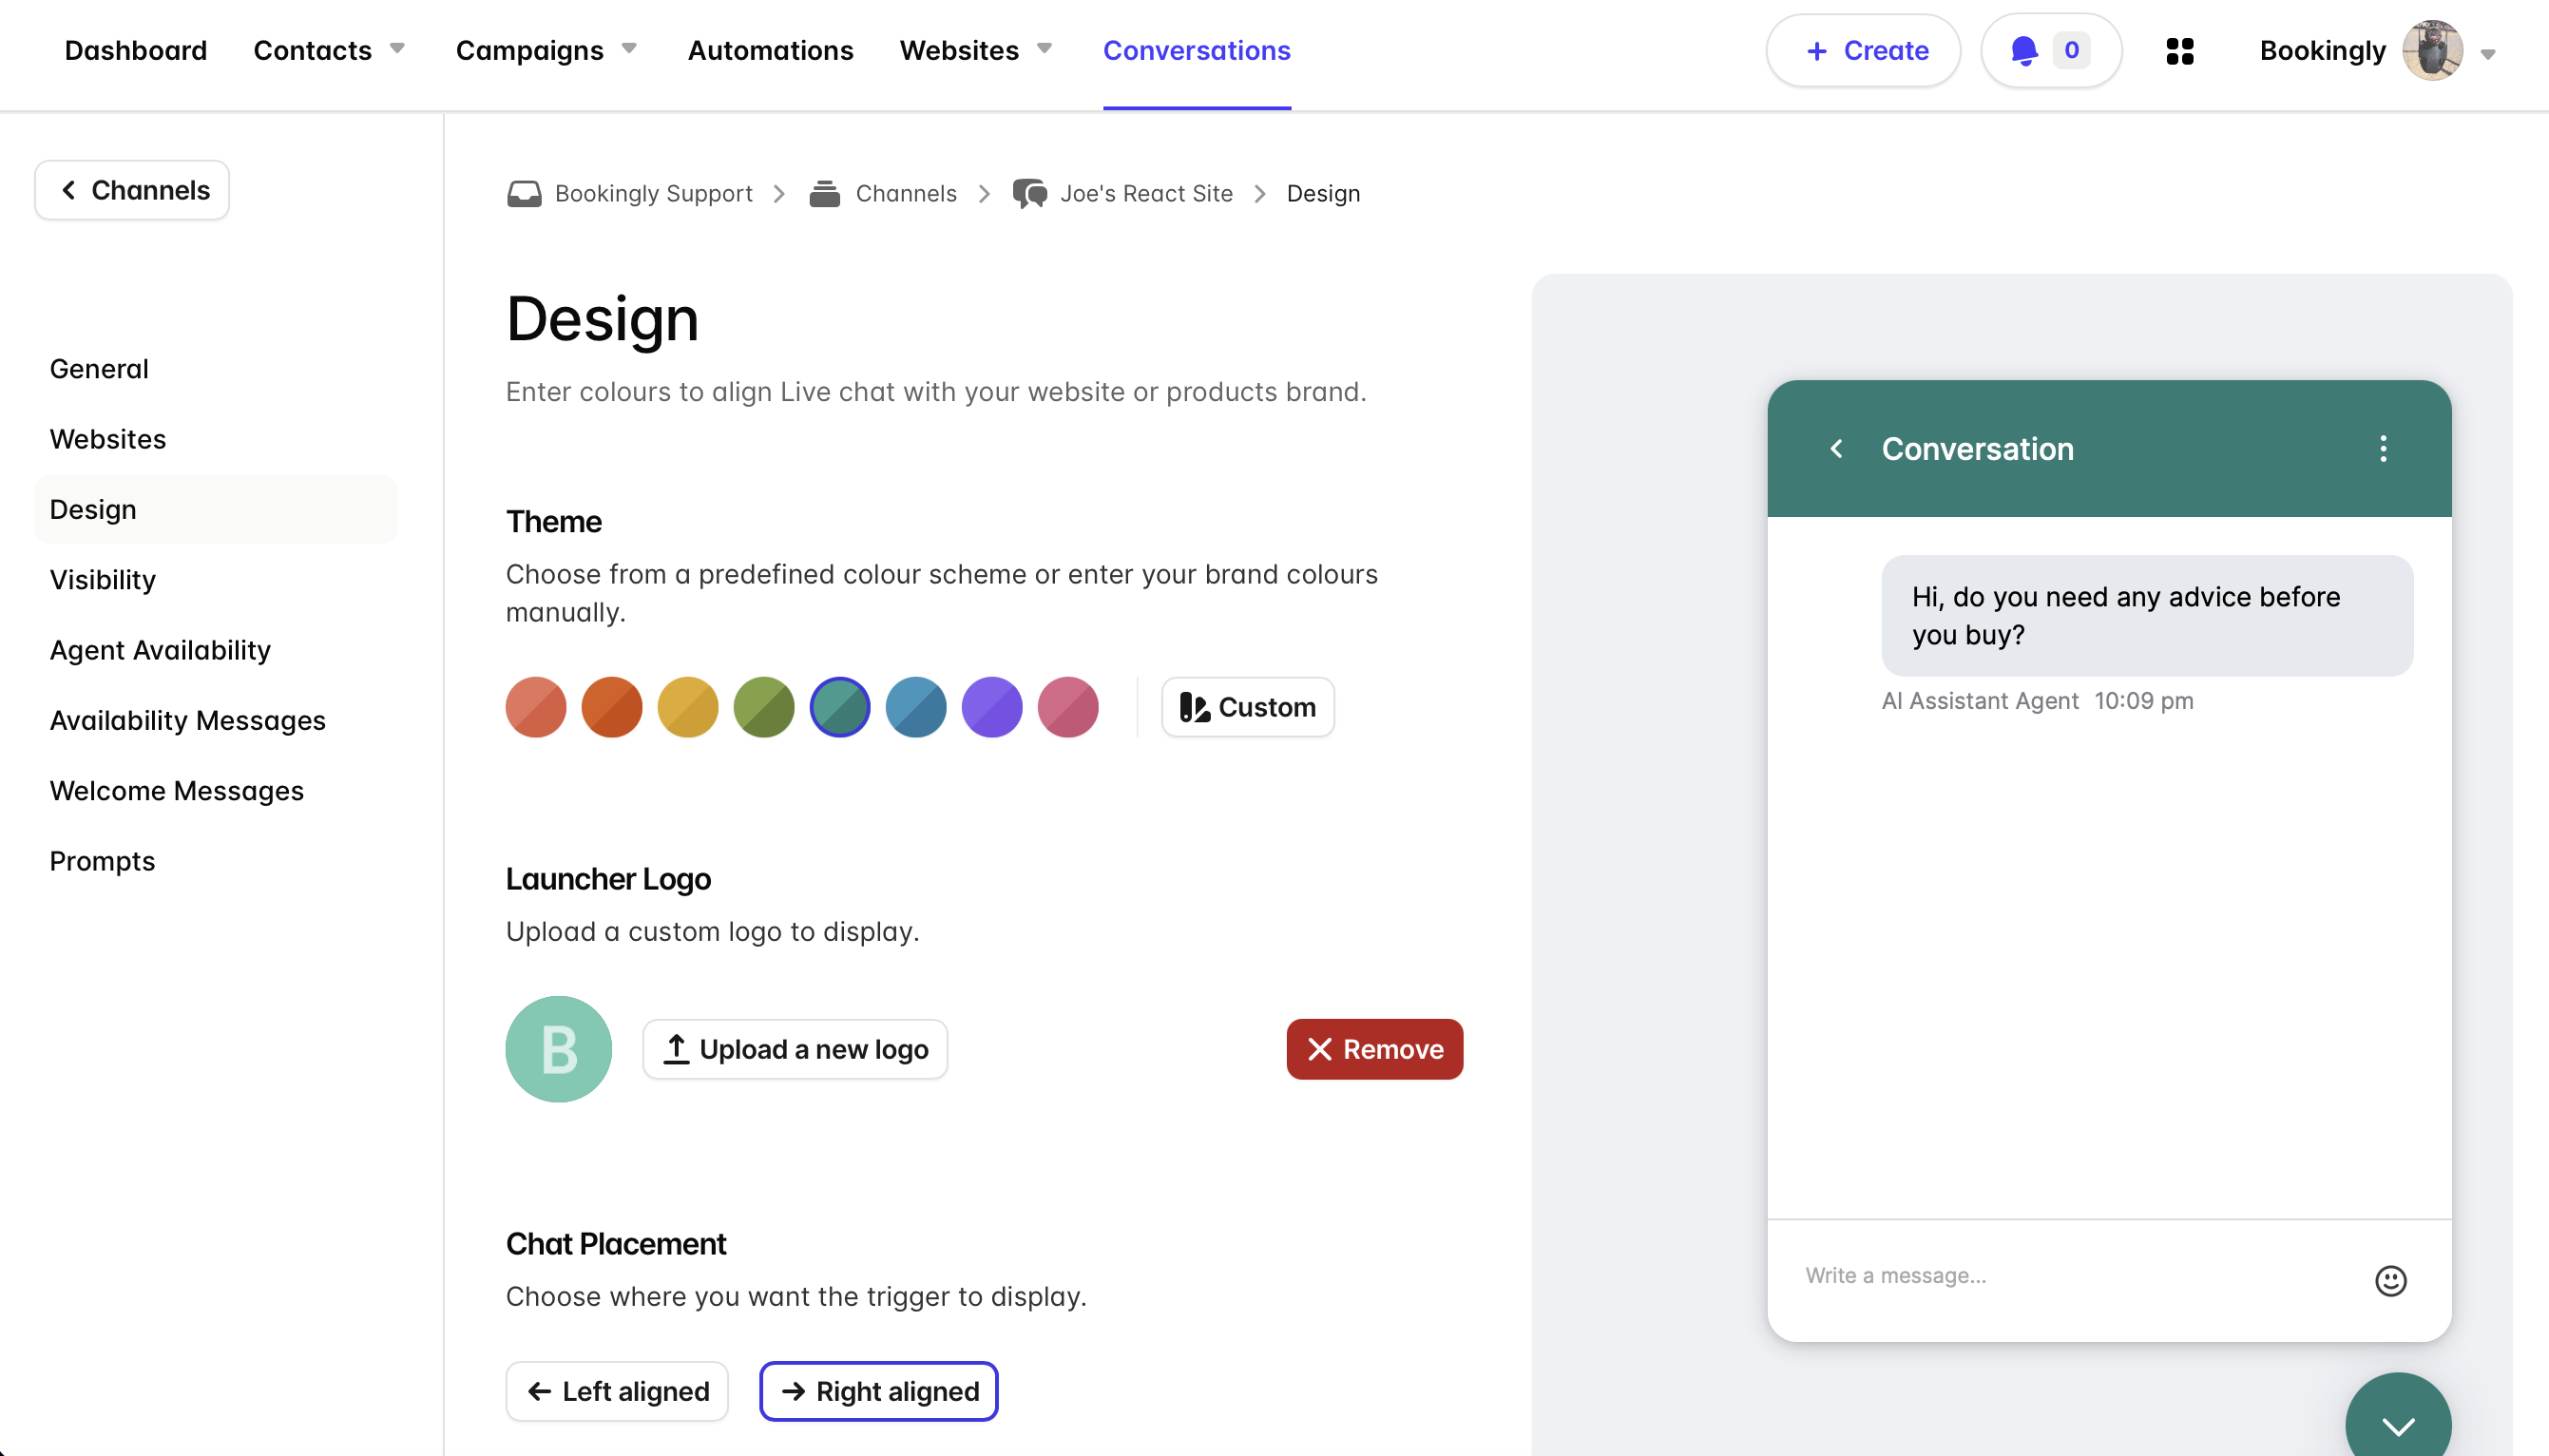
From here you can:
- Choose a theme
- Upload a custom launcher logo
- Set the widget position (left or right)
- Configure the displayed agent or bot name
- Add a custom profile image
These settings help your chat experience feel more consistent with your brand.
Control widget visibility
If you only want Chat to appear on certain pages:
- Open your Chat Channel
- Go to Visibility
- Use:
- Inclusions to show Chat on specific pages
- Exclusions to hide Chat on specific pages
This is useful for showing Chat only on high-intent pages like pricing or support.
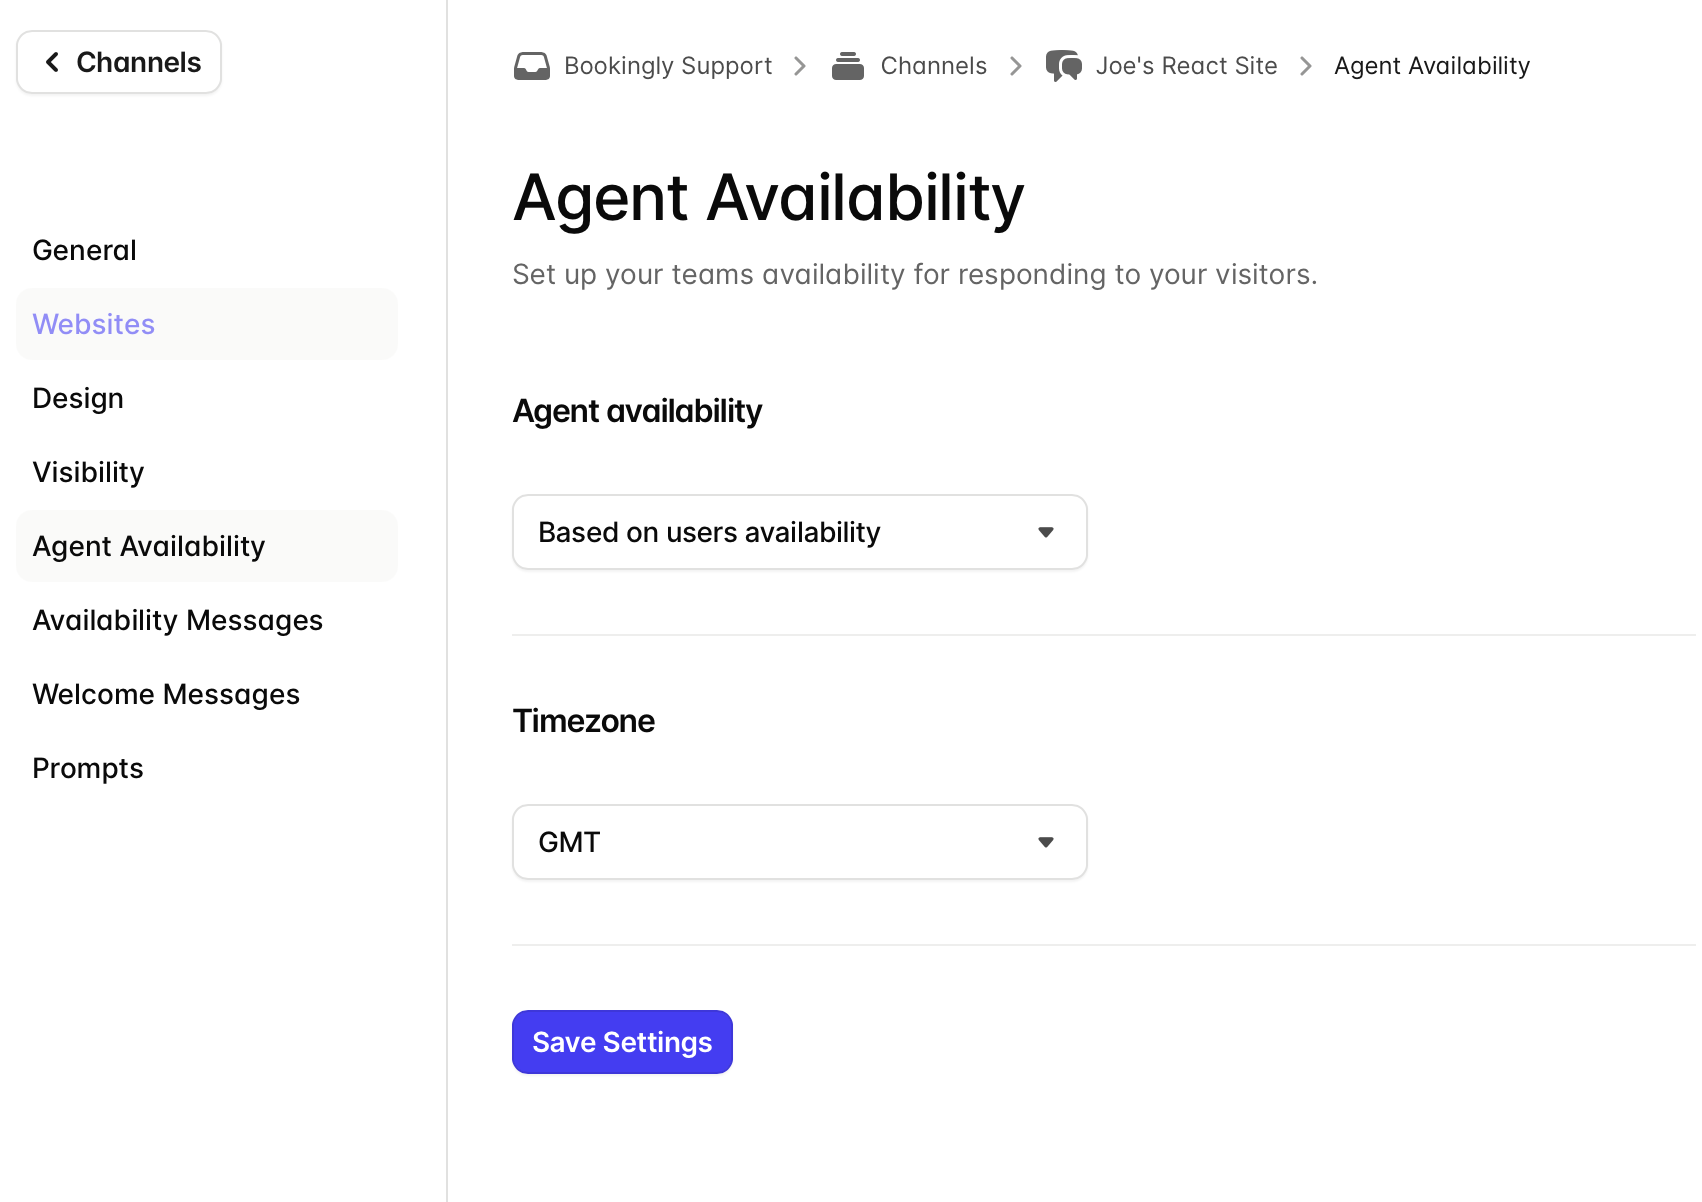
Set agent availability
You can choose whether chat availability is controlled manually or by a schedule.
- Open your Chat Channel
- Go to Agent Availability
- Choose:
- Based on user availability
- Based on a schedule
If using schedules, you can also set working hours and time zones.
Configure availability messages
Availability messages let visitors know whether your team is online.
- Open your Chat Channel
- Go to Availability Messages
You can customize:
- Online messages
- Away messages
- Out-of-hours messages
- Whether the widget should remain visible when offline
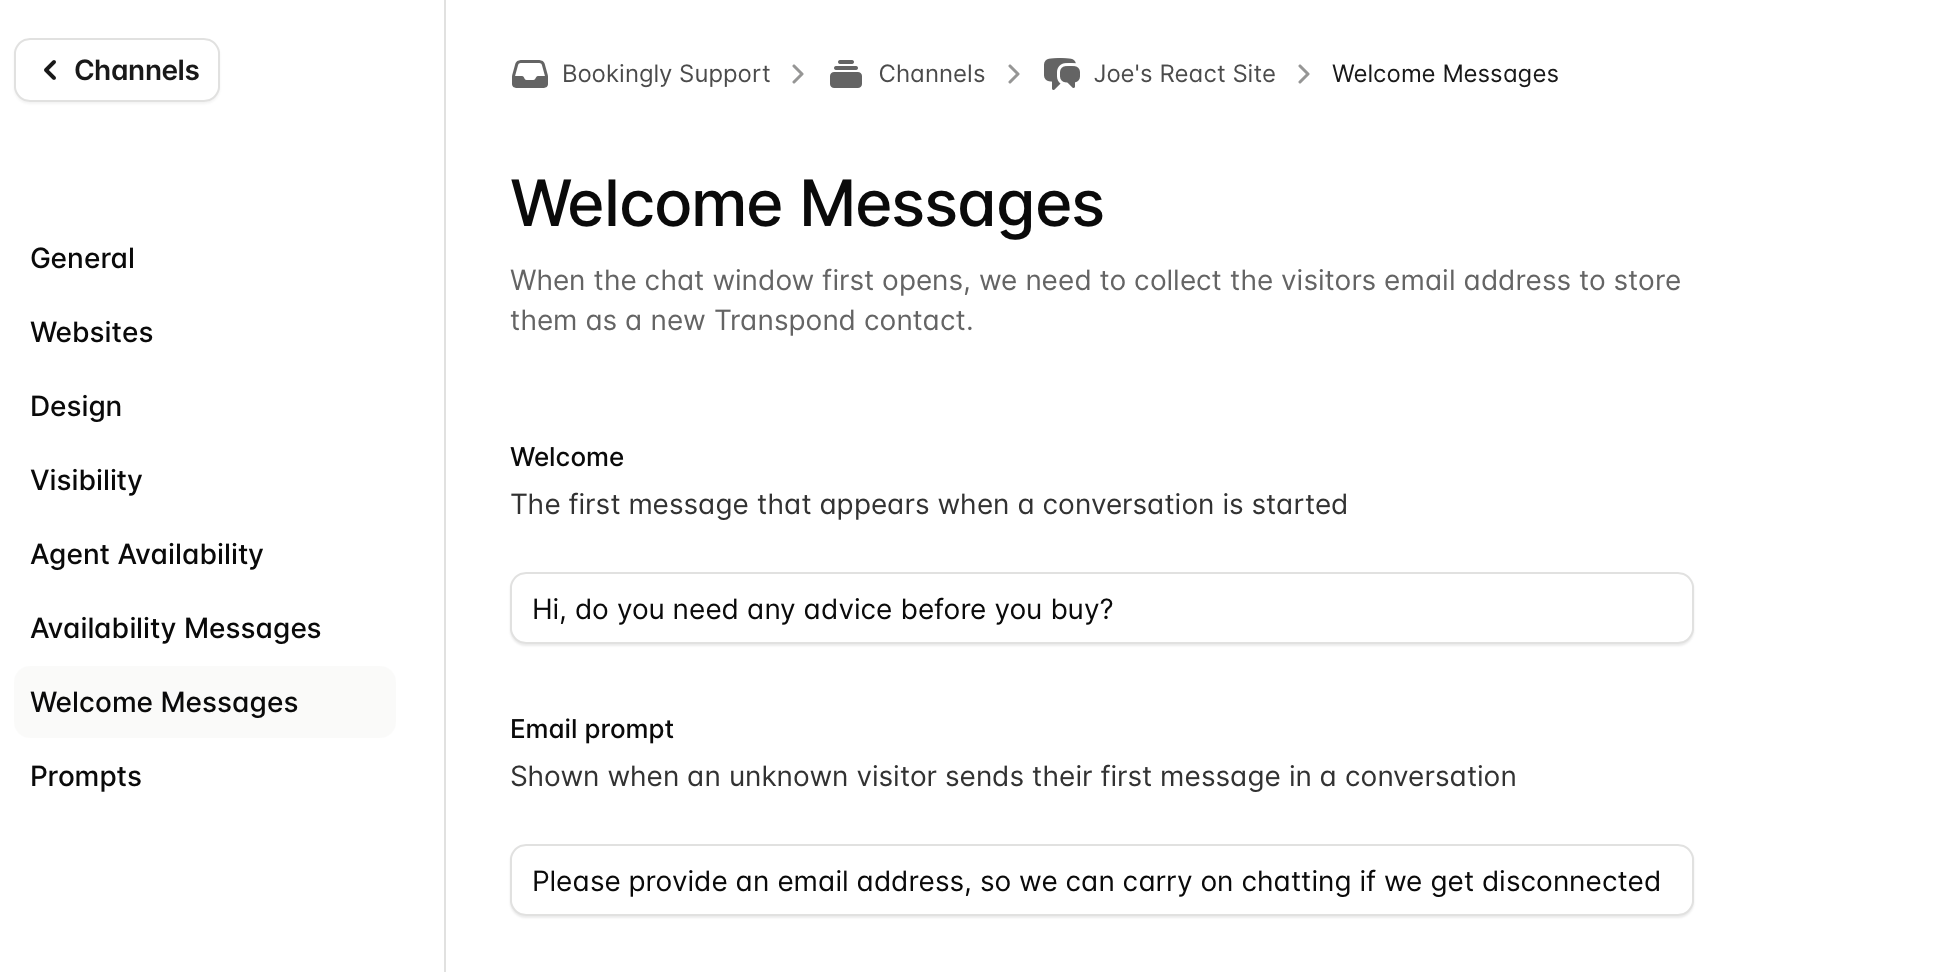
Set welcome messages
Welcome messages appear when visitors first open the chat widget.
- Open your Chat Channel
- Go to Welcome Messages
- Customize the messages shown to visitors
This is commonly used to greet visitors or request their email address before starting a conversation.
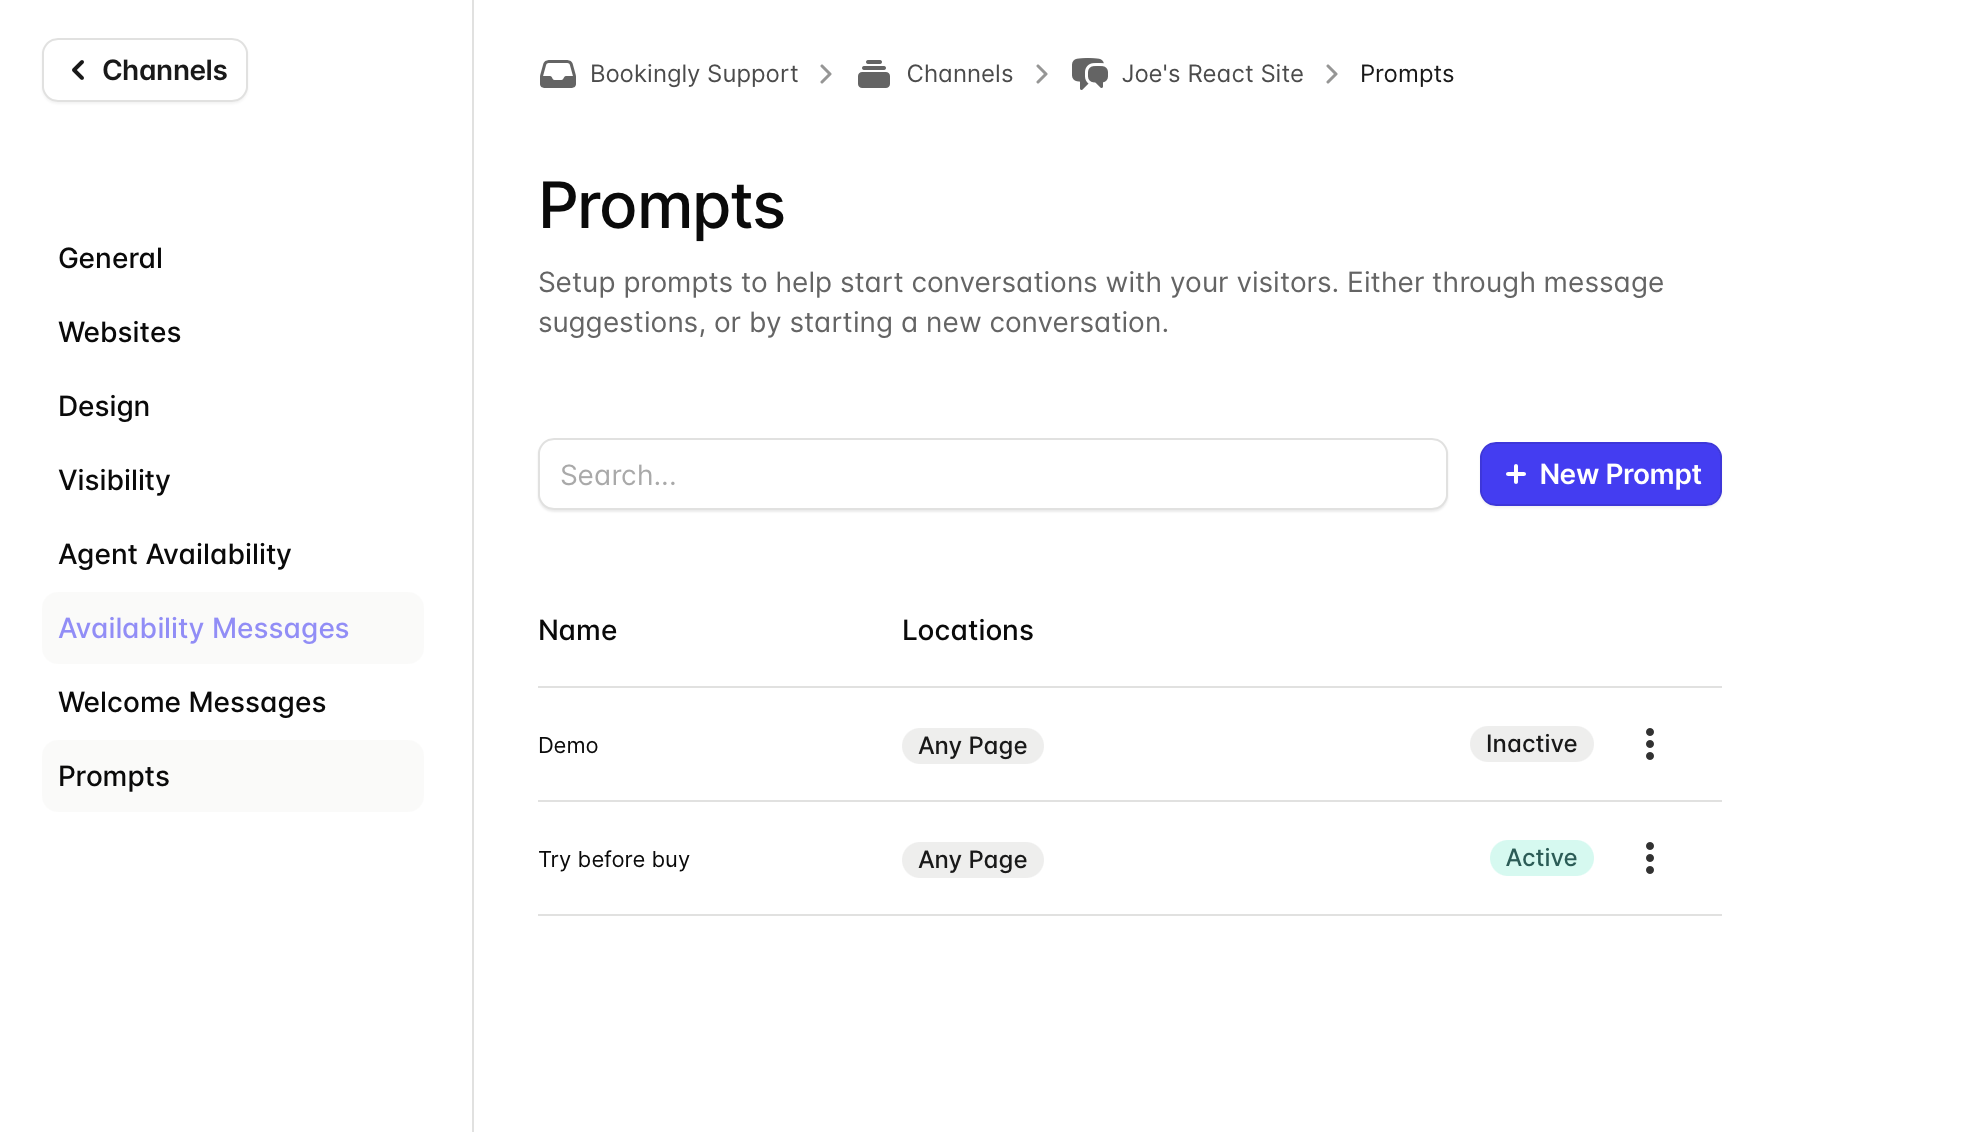
Create chat prompts
Prompts help encourage visitors to start conversations.
To create a prompt
- Open your Chat Channel
- Go to Prompts
- Click + New Prompt
- Enter your prompt message
- Choose where and when it should appear
- Save and activate the prompt
Common examples include:
- “Need help with pricing?”
- “Want to schedule a demo?”
- “Have a question?”
Next steps
Once your chat widget is configured, you can:
- Respond to conversations from your Inbox
- Add AI Assistants to automate replies
- Refine prompts and messaging over time
A well-configured chat experience makes it easier for visitors to get help while keeping conversations organized for your team.