Signup Forms
Create a Form in Transpond
Creating forms in Transpond makes it easy to capture new contacts, collect inquiries, and grow your audience from your website or landing pages. Whether you’re building a simple signup form or offering gated content, Transpond provides flexible tools to help you create, customize, and publish forms that fit your workflow. This guide will walk you through each step of the setup process, from choosing a form type to publishing and sharing your finished form.
Before you start
Forms in Transpond connect directly to your audience. As part of setup, you’ll choose where new contacts should be added and how the form should behave after submission.
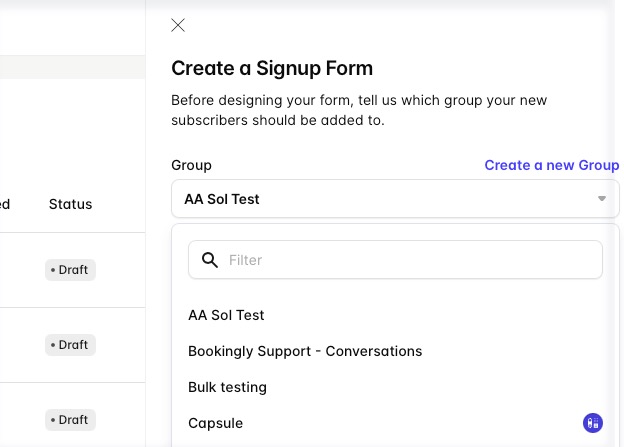
Create a new form
- Go to Websites in the top menu, then select Forms
- Click + Create Form
- Choose which Group new submissions should be added to (or create a new one)
This ensures every submission is stored in the right place from the start.
Choose your form type
Select the type of form you want to create:
- Regular Form – standard data capture
- Gated Content Form – used when offering downloads or resources (plan dependent)
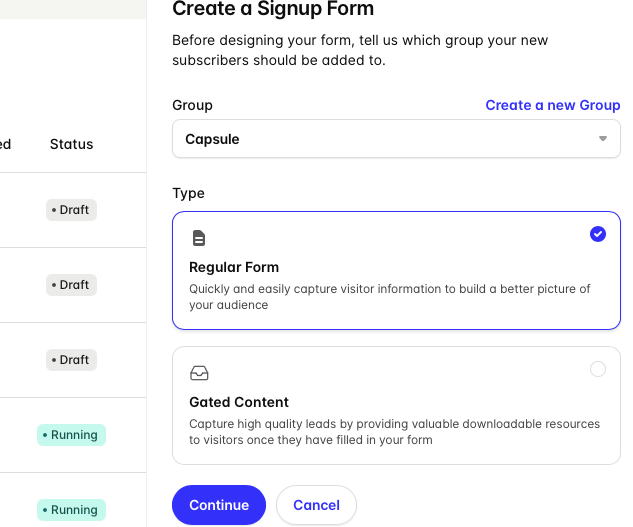
If you’re just collecting signups or inquiries, choose a regular form.
Choose how your form will be used
Decide how the form will be shared:
- Hosted form – lives on its own page with a shareable link
- Embedded form – provides a code snippet to place on your website
Choose hosted if you want something quick to share. Choose embedded if the form needs to sit within your existing pages.
Select a starting layout
Pick a template to use as your starting point
Templates help you get set up faster, but everything can be edited in the next step.
Customize your form
Use the form editor to update your form:
- Add or remove fields (e.g. name, email, custom fields)
- Update labels and wording so they’re clear to your audience
- Adjust layout and styling to match your brand
- Map each field correctly so the data is saved in the right place
Taking a moment to map fields properly helps avoid messy or unusable data later.
Configure form settings
Review your form settings before publishing:
Choose what happens after submission (confirmation message or redirect to another website)
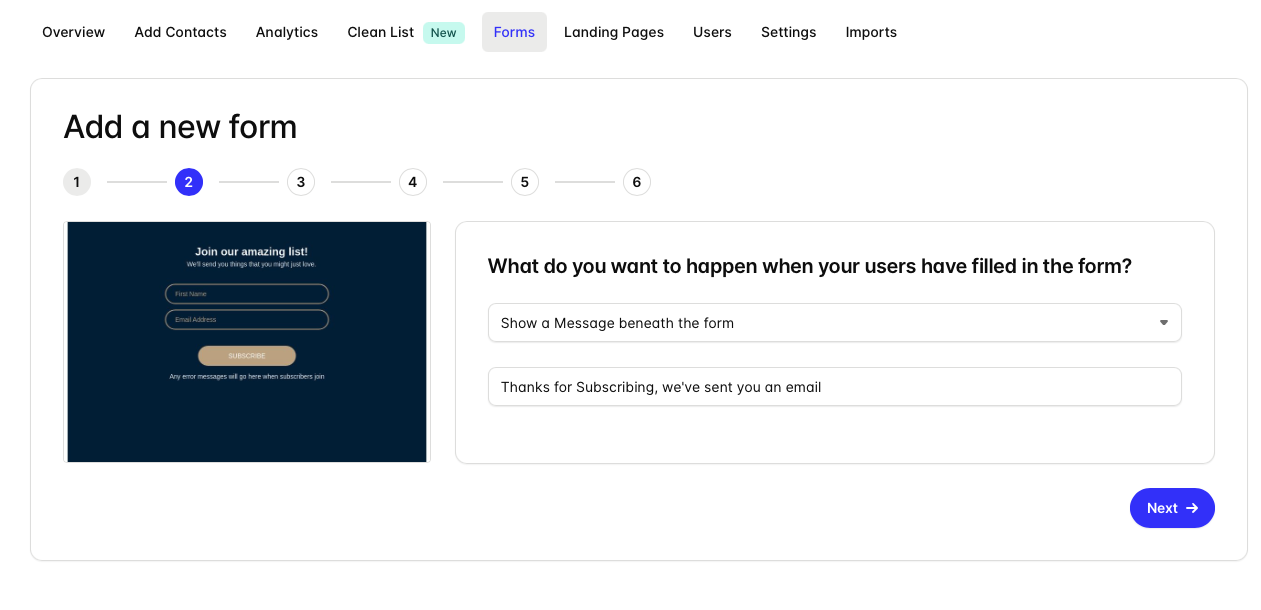
Decide what you'd like to happen if the email address already exists
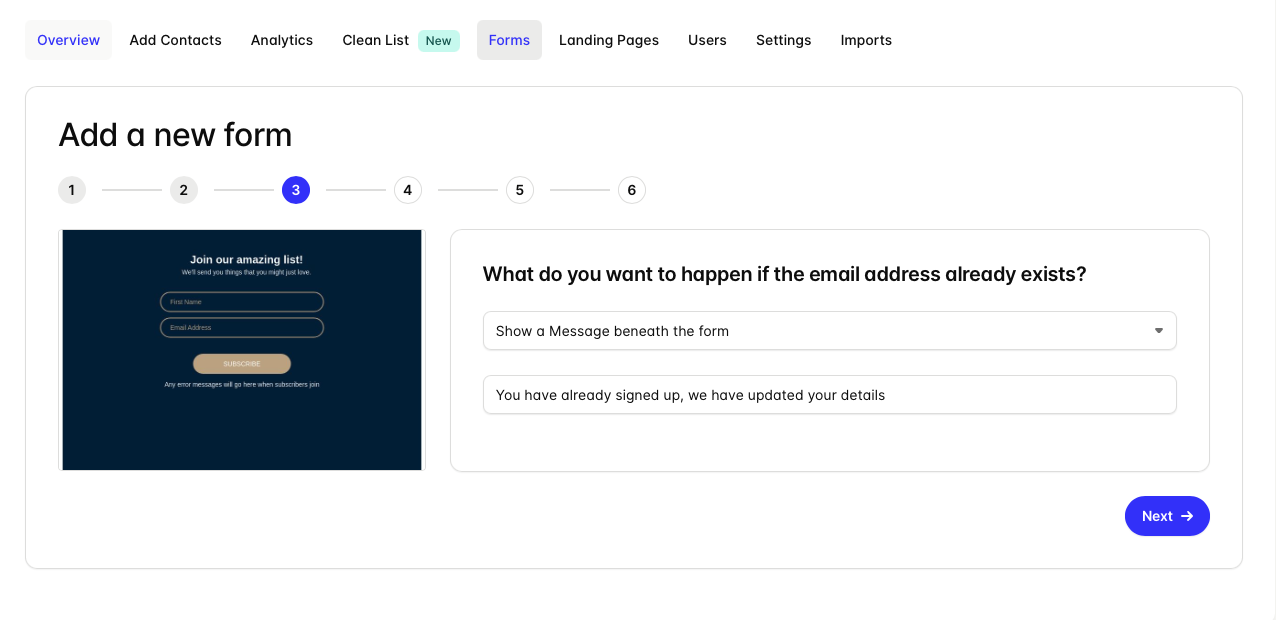
Optionally enter in an email address to send an email, confirming the user's email address
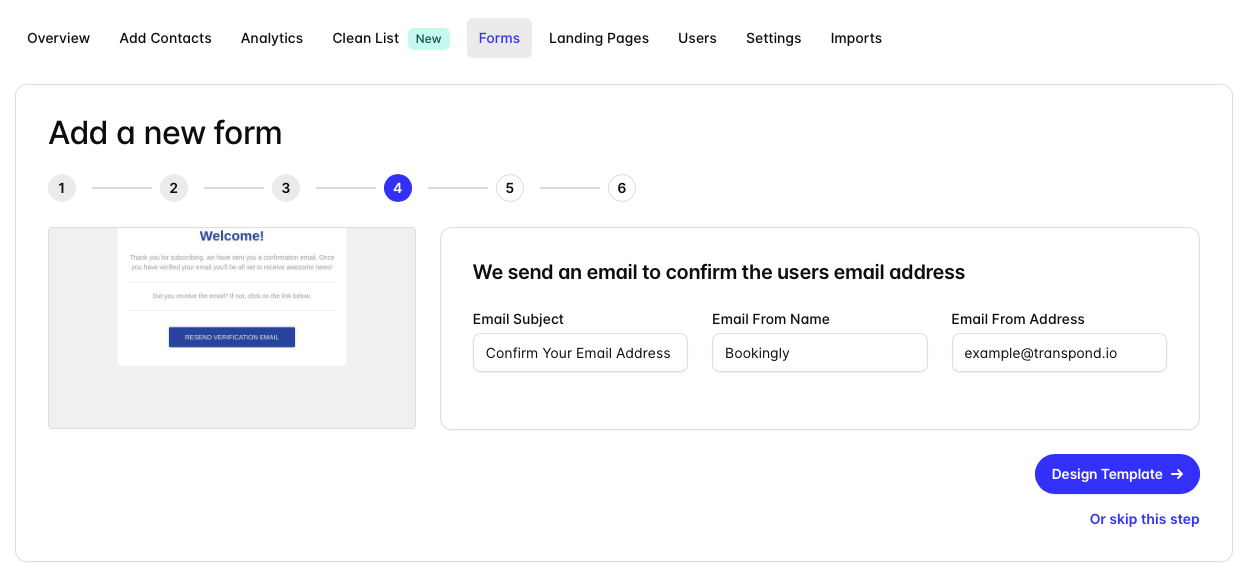
These settings control the experience for both you and your subscribers.
Publish and share your form
When you’re ready:
- Publish the form
- Copy the hosted link to share directly, or
- Copy the embed code to add it to your website
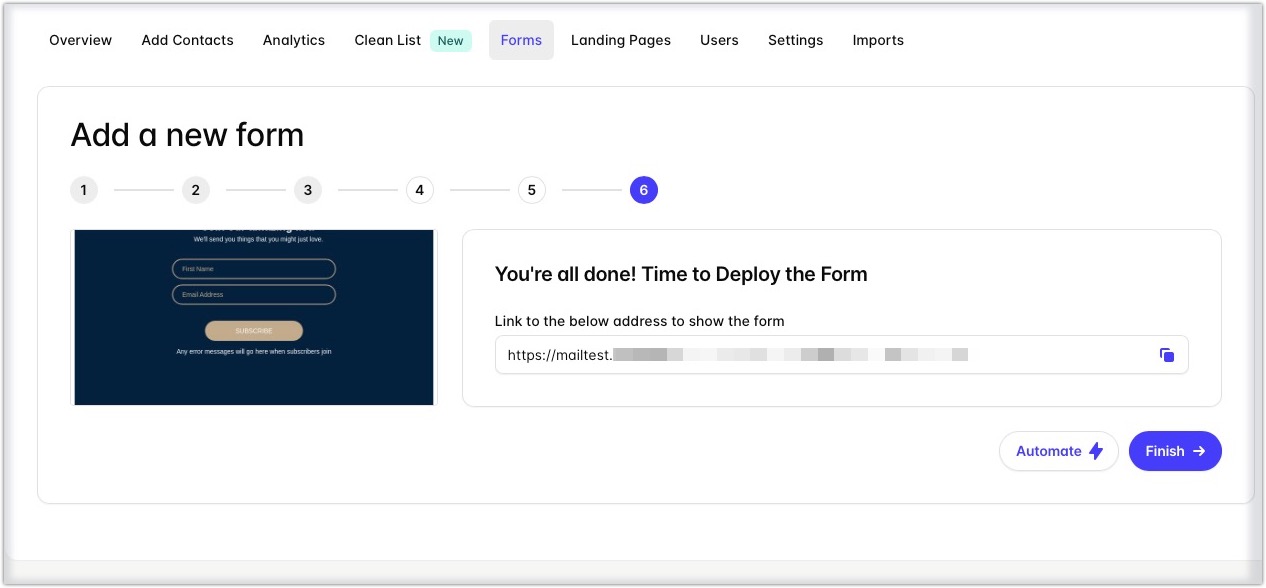
Once published, your form is live and ready to collect submissions.
What to do next
After your form is live, you can:
- Add it to key pages on your website
- Connect it to automations for follow-up emails
- Review submissions and improve your form over time
A well-placed form with a simple setup makes it easier to capture new contacts without adding extra manual work.
If you're looking to create Gated Content for your form in Transpond, you can see more on this specifically here on our help doc guide dedicated to that.