Calendly Integration
Connect your Calendly account to Transpond so recipients can book time with you directly from your emails, without the back-and-forth.
Adding a scheduling link to your templates makes it easy for contacts to choose a time that works for them, helping you book more meetings faster while reducing manual coordination.
- Save time: No more emailing to find a suitable time, Calendly handles it automatically.
- Increase conversions: Make it easy for recipients to take action the moment they’re interested.
- Avoid double-bookings: Calendly only shows your actual availability.
- Create a smoother experience: Contacts can book in seconds, without leaving your email.
Who can use this feature? An Admin role is required to set up the integration
Available on: Free, Starter, Growth, Advanced and Ultimate
Connecting Calendly to Transpond
- In Transpond, go to Account menu > Integrations > + Add Integrations.
- Click View/Install next to Calendly
- Click Connect to Calendly.
- Enter your Calendly credentials and click Continue.
Before using the integration, make sure the event type you want to share is active in Calendly:
- Go to Event Types in Calendly
- Select the event you want to use
- Ensure it is switched on
How to add your Calendly link to an email template
Once you have connected your Calendly account, you can use the Calendly element in your email templates so that your contacts can click a button in an email campaign to schedule a meeting. To add your Calendly link to an email template:
- Create a new template or open an existing template using the Transpond Drag-and-Drop editor.
- Click the Apps menu on the left-hand side of the screen
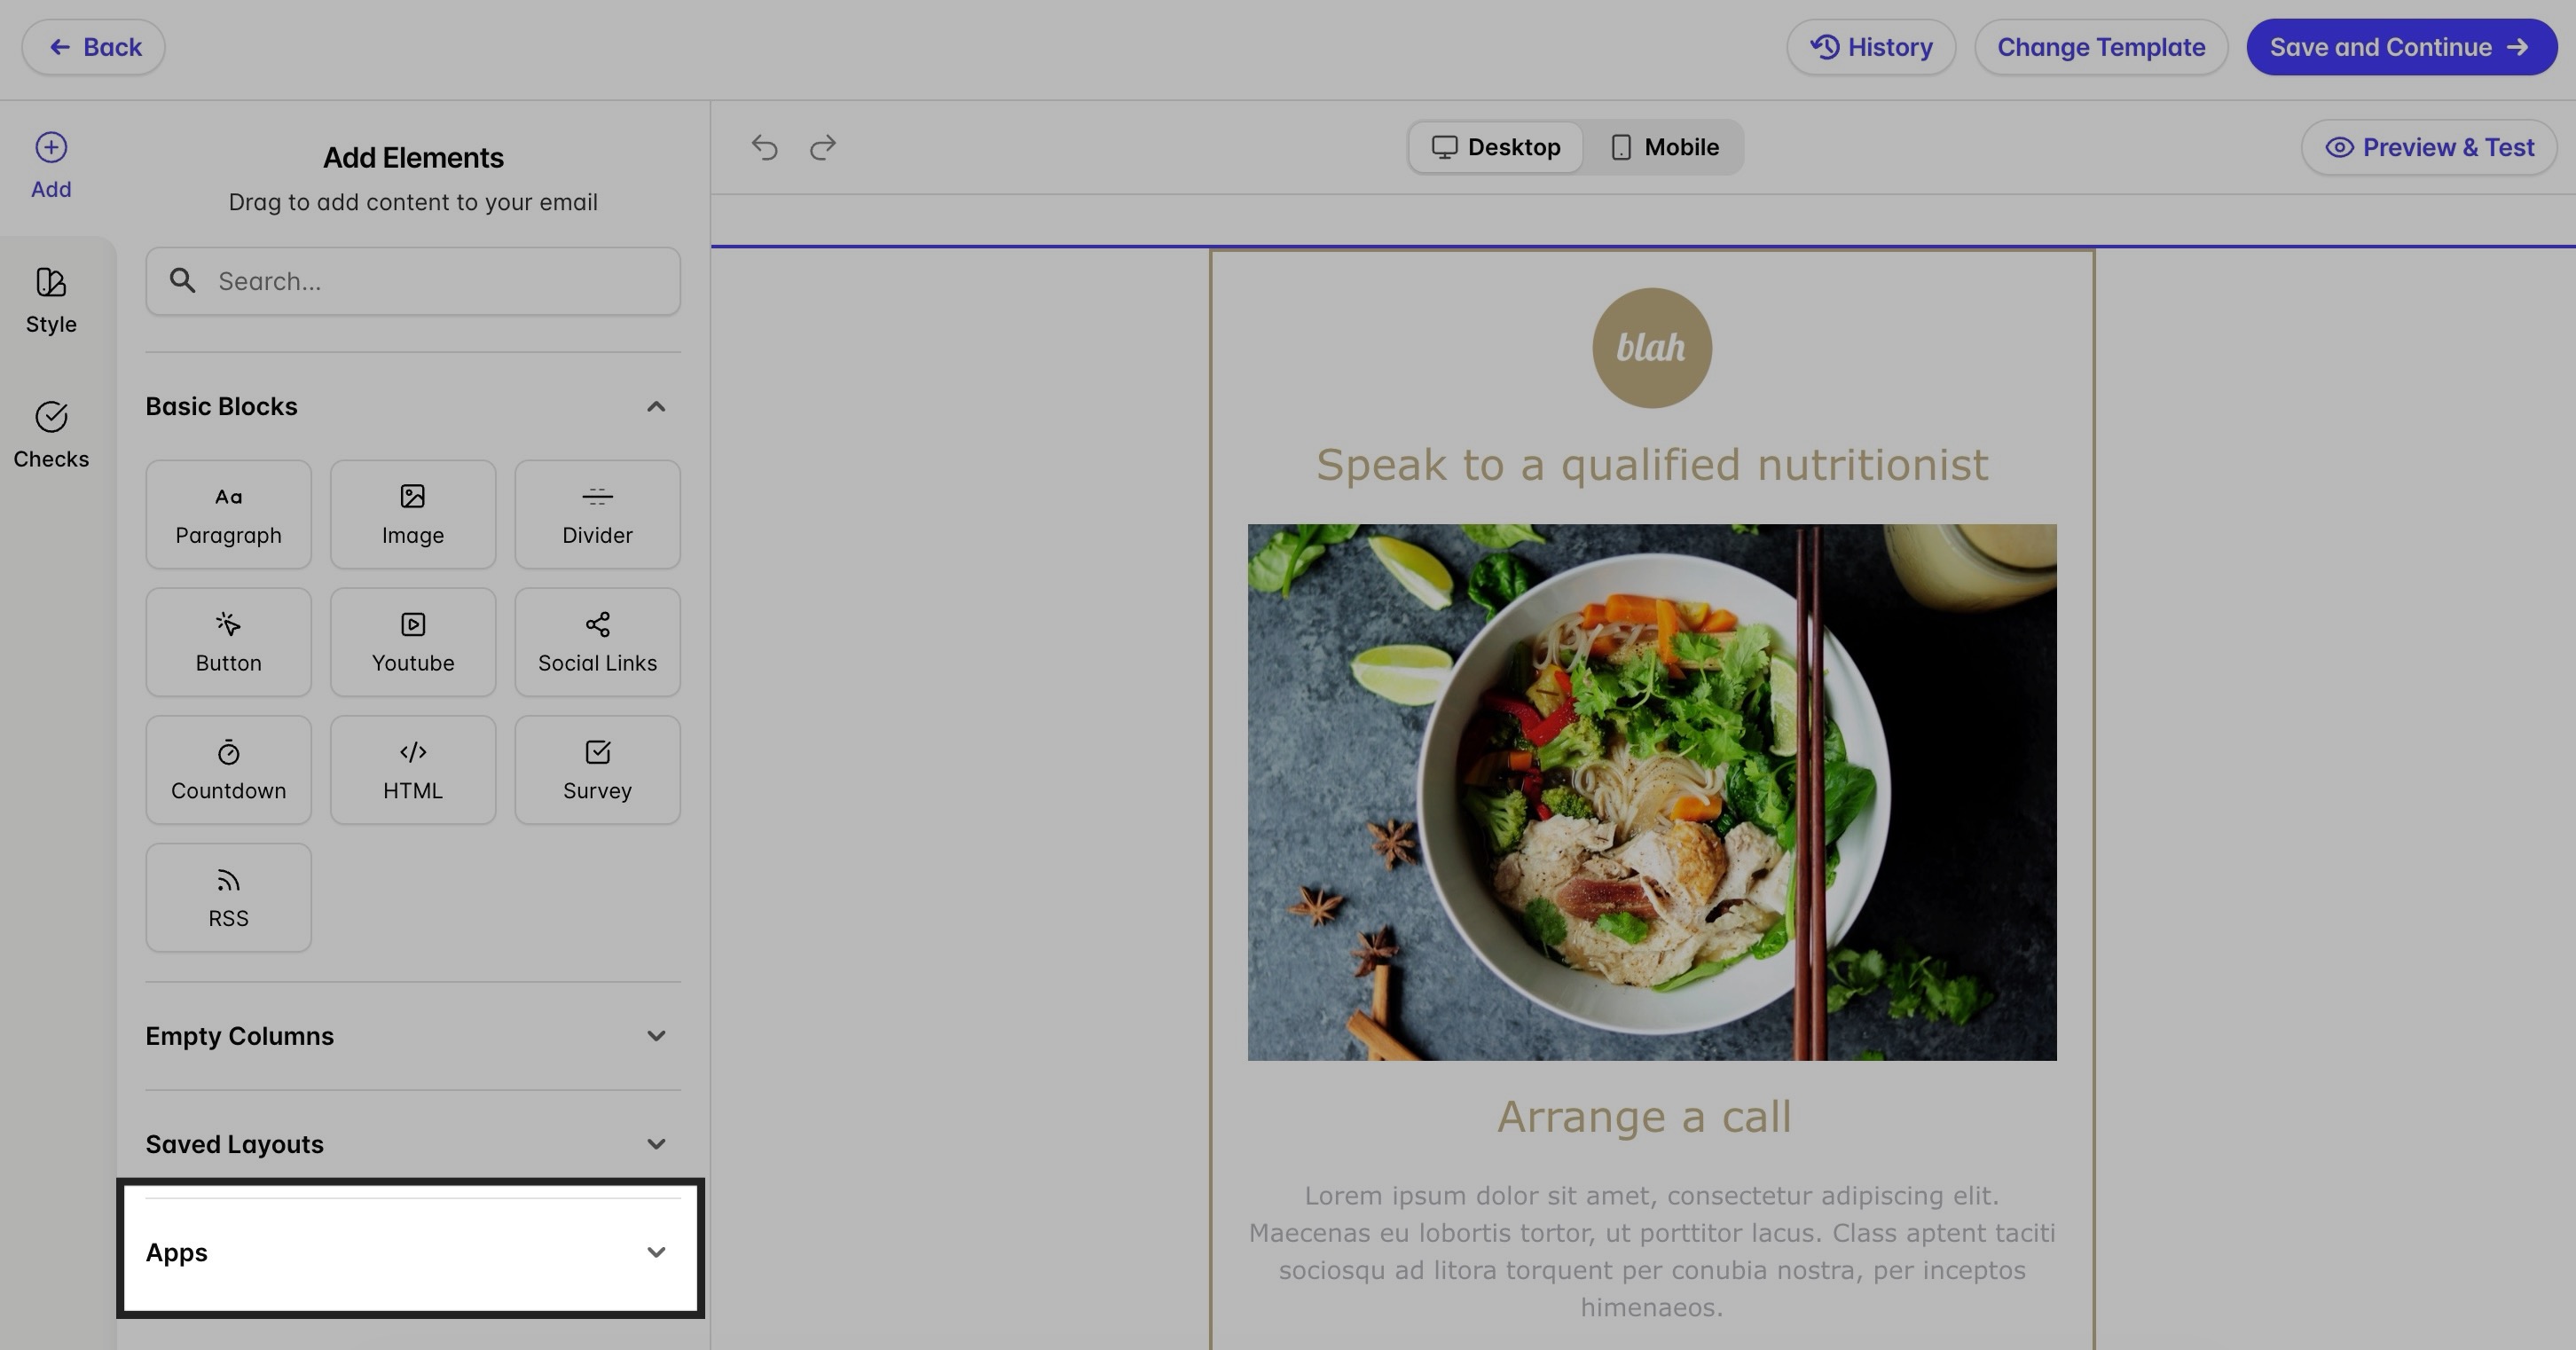
- Drag the Calendly element into your template where you want it to appear.
- Select the element to open the Calendly widget settings:
- Edit the button text (your call to action)
- Choose which Calendly event to link to
Use the Style tab to adjust the button’s appearance, including color, font, spacing, and layout.
Disconnecting the Calendly Integration
To disconnect the Pipedrive integration:
- Click on the Account menu > Integrations > click Manage next to Calendly
- Click Disconnect and then confirm.