Getting Started with Converstations
Conversations Overview
Conversations gives your team a shared inbox for managing customer communication across Chat and Email in one place. It helps keep conversations organized, improve response times, and connect customer communication directly to your contacts in Transpond.
With Conversations, you can:
- Manage website chat and email conversations together
- Assign conversations across your team
- Use AI Assistants to help answer common questions
- Keep communication connected to your contact records
- Use for Web Chat, Email or Facebook Messenger
Conversations helps centralize customer communication so your team can respond faster, stay organized, and deliver a more consistent support experience.
Setting up Conversations
Conversations is Transpond’s shared inbox where your team can manage customer communication from Chat, Email, and other connected channels in one place. It helps you respond faster, stay organised, and keep all customer conversations connected to your contacts.
This guide explains how to set up your first Inbox, add Channels, and get your Conversations workspace ready to use.
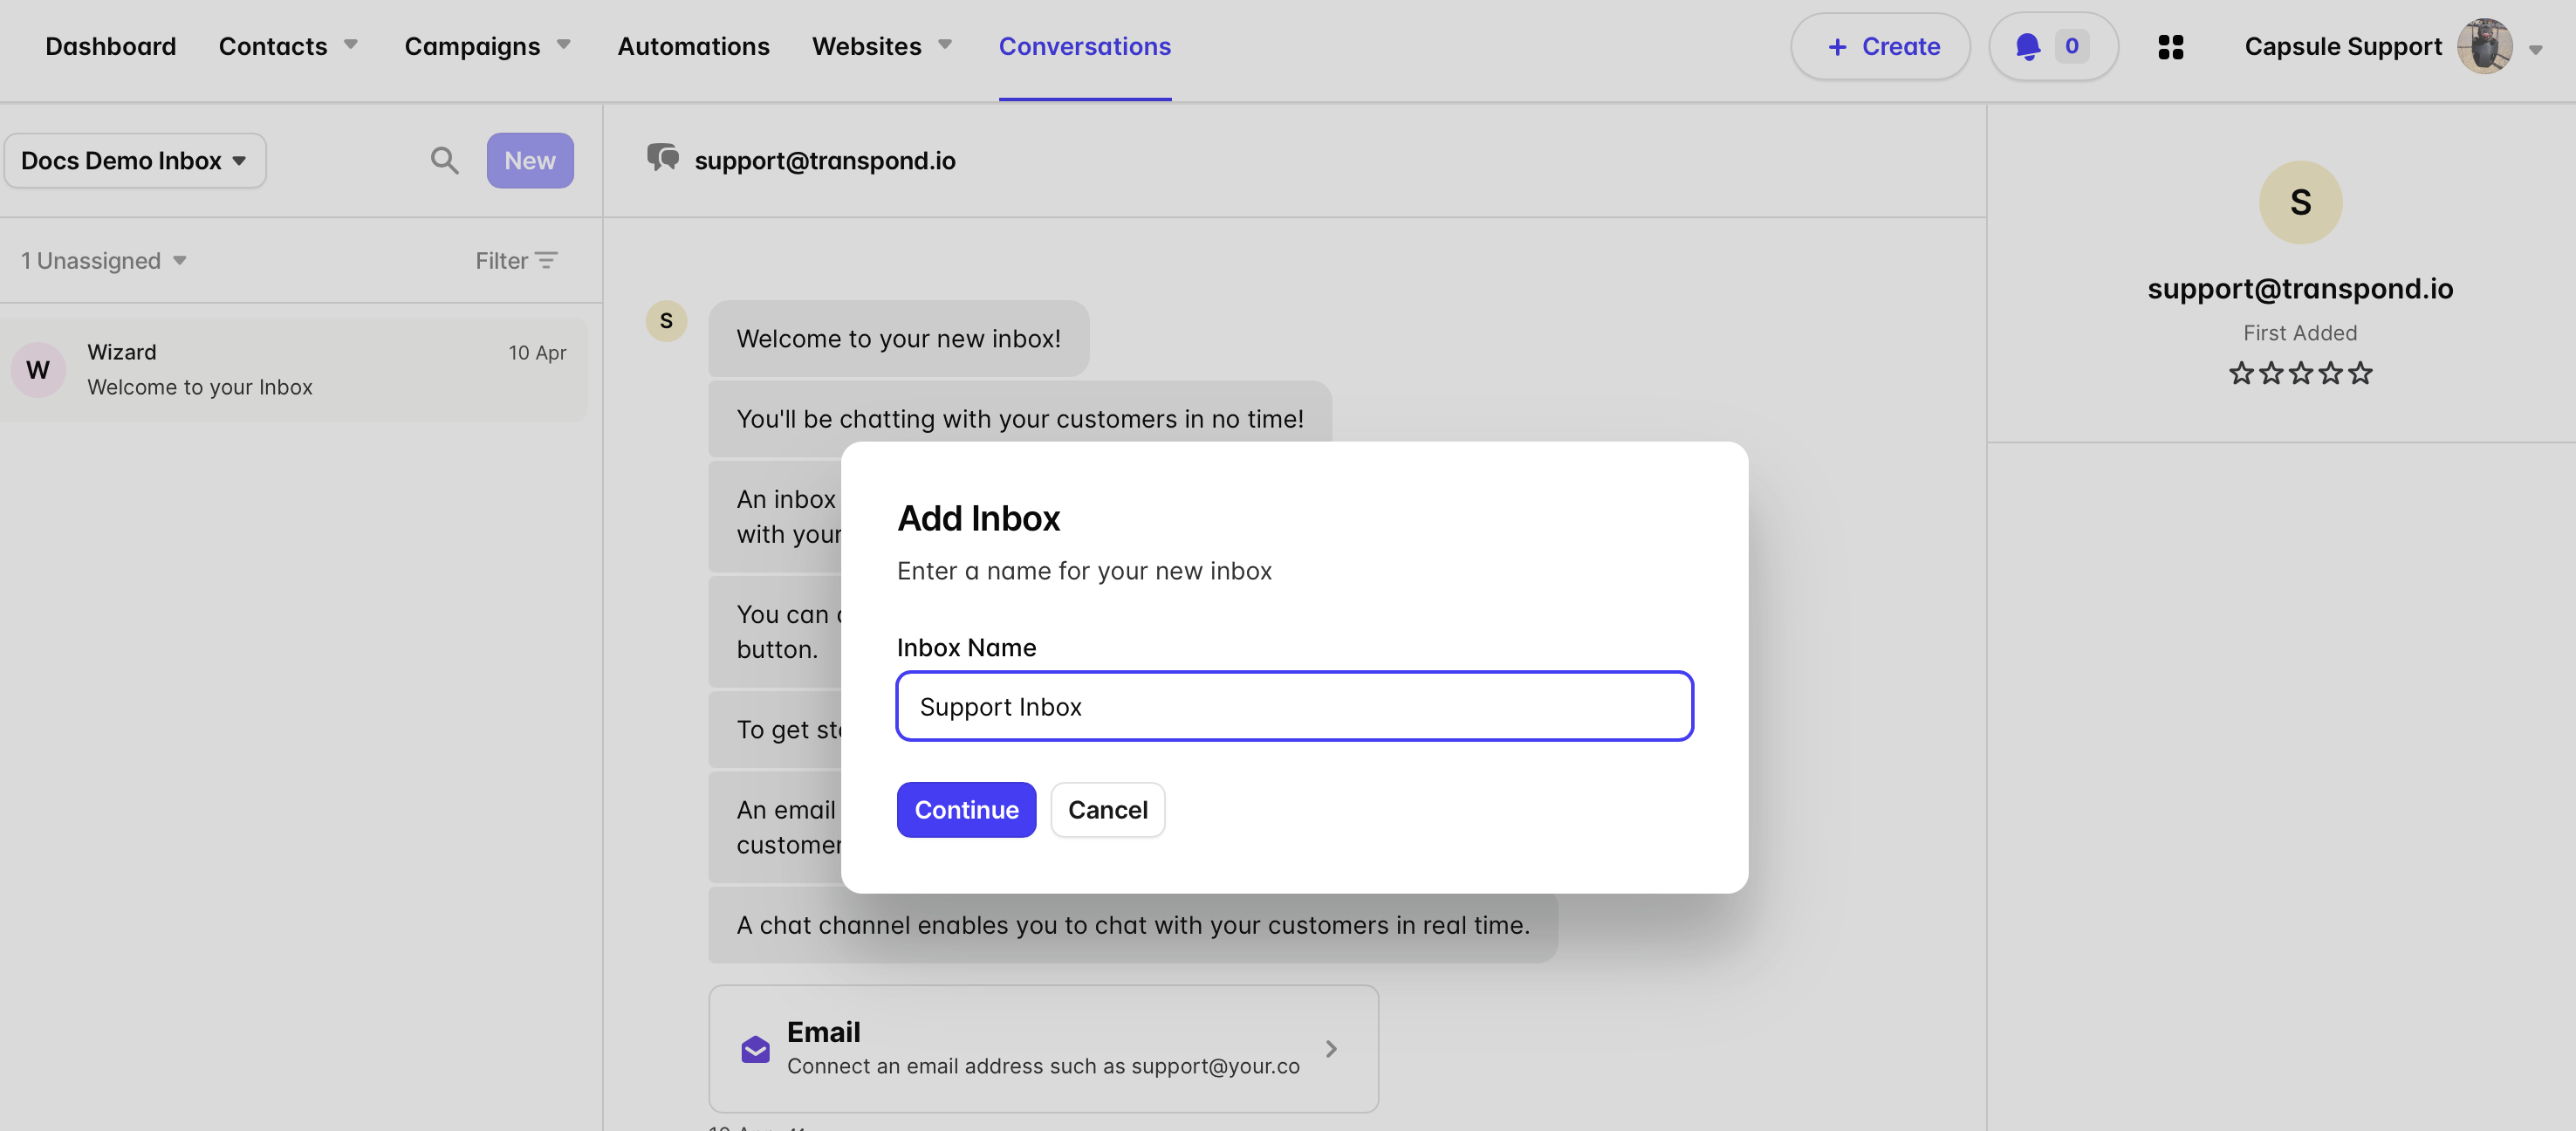
Create your first Inbox
If you're new to using Conversations - you'll need to setup your very first inbox as a starting point. Your Inbox is where all conversations are stored and managed - and each Inbox is usually set up for a team, product, or purpose (for example: Support or Sales).
To create an Inbox:
- Open Conversations
- Click Create your first Inbox
- Enter a name for your Inbox
- Click Continue
You can create additional Inboxes later if you need to separate teams or workflows.
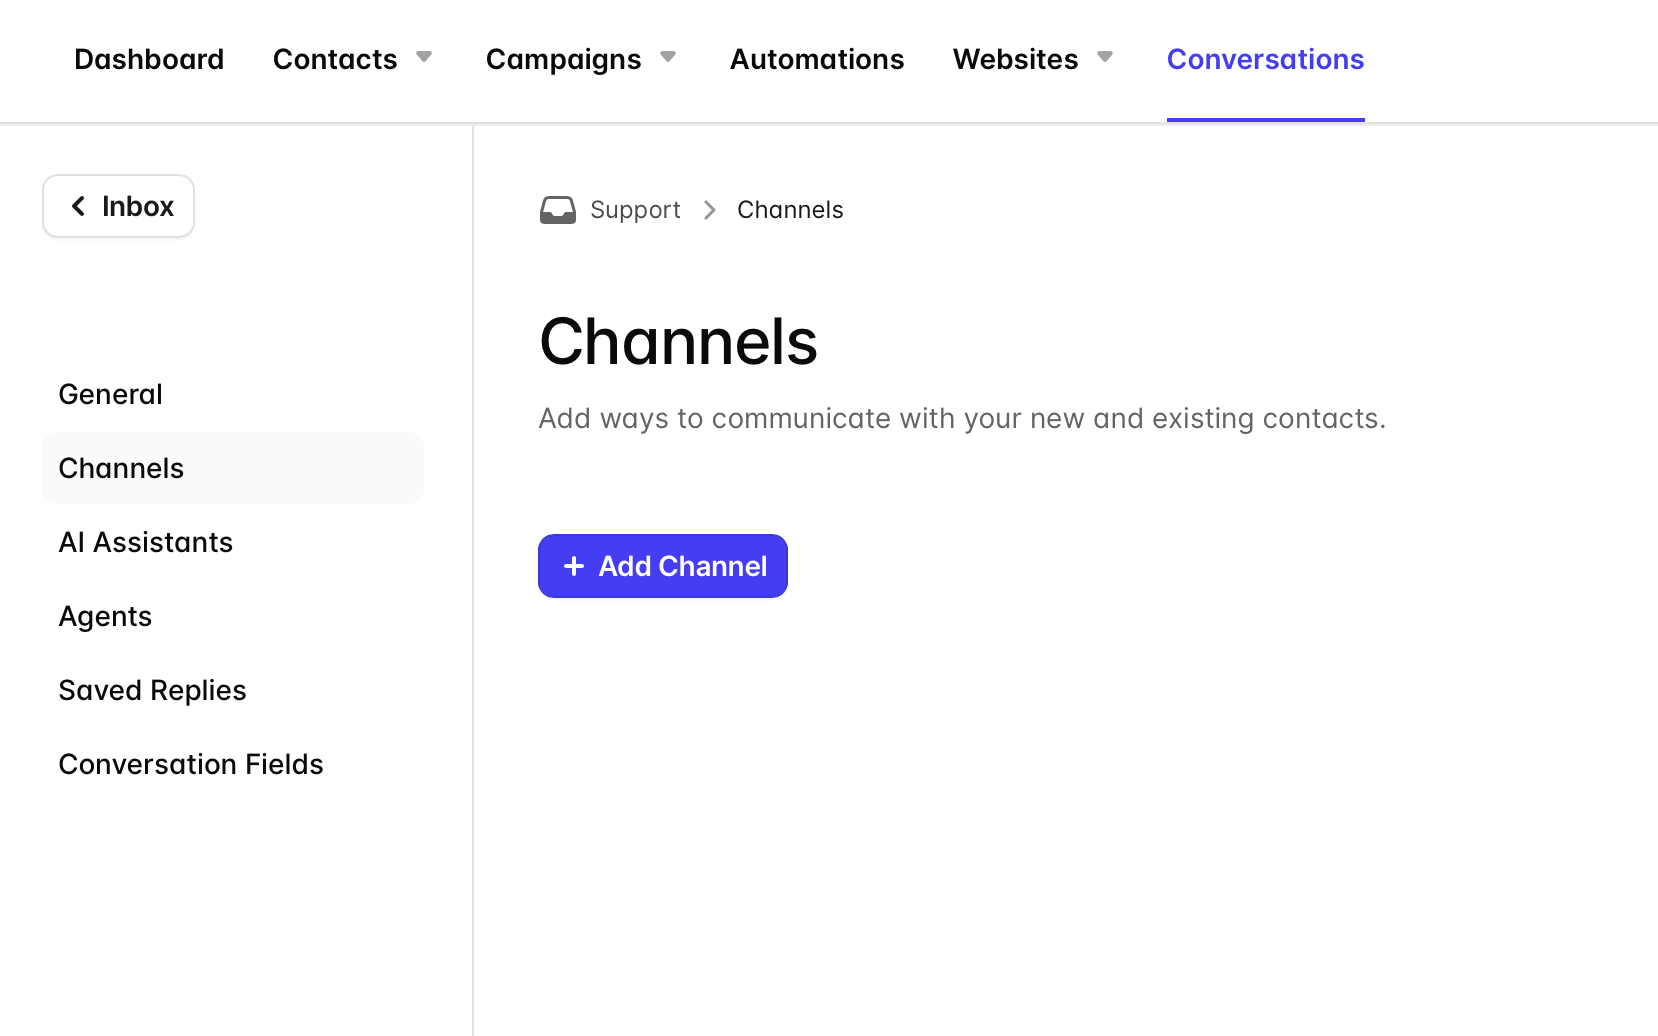
Add a Channel
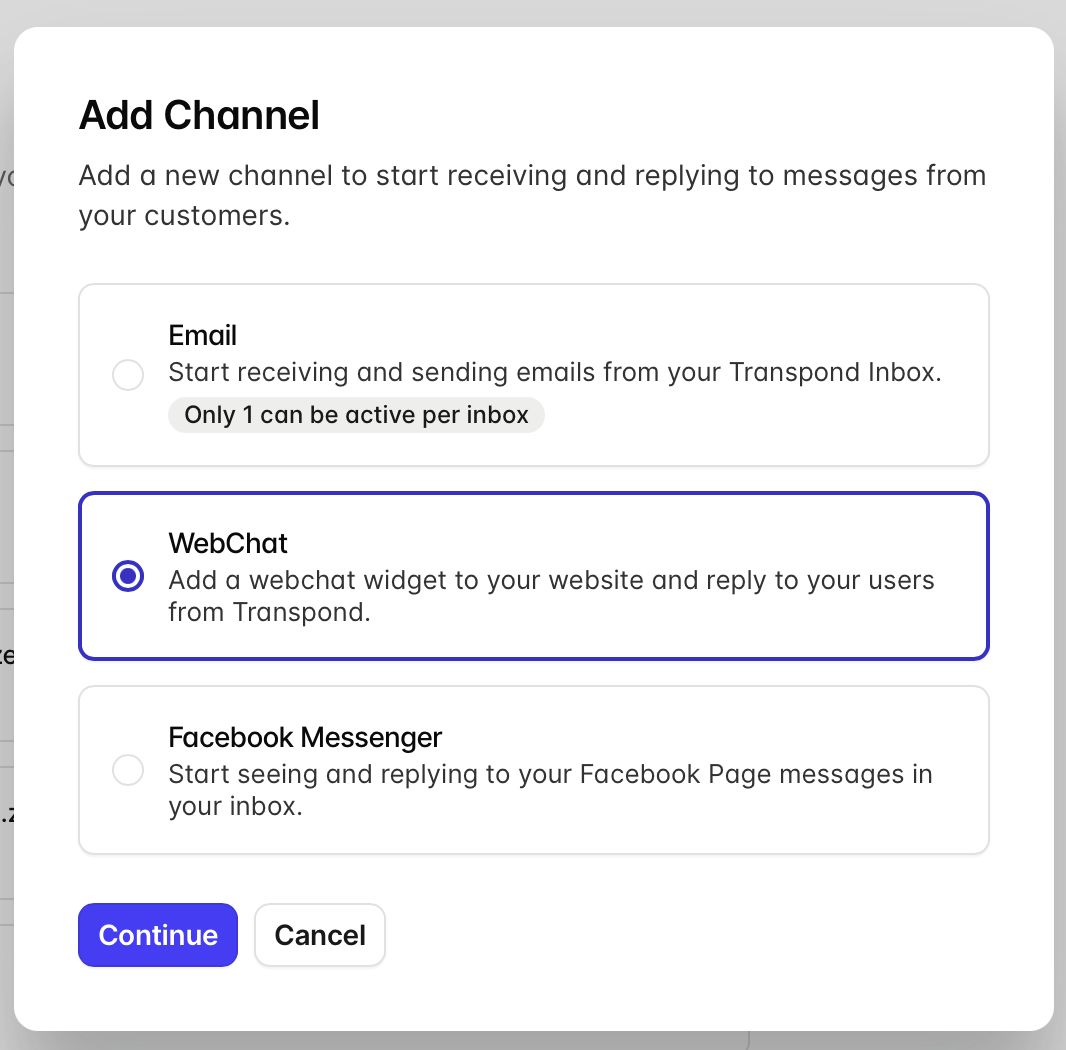
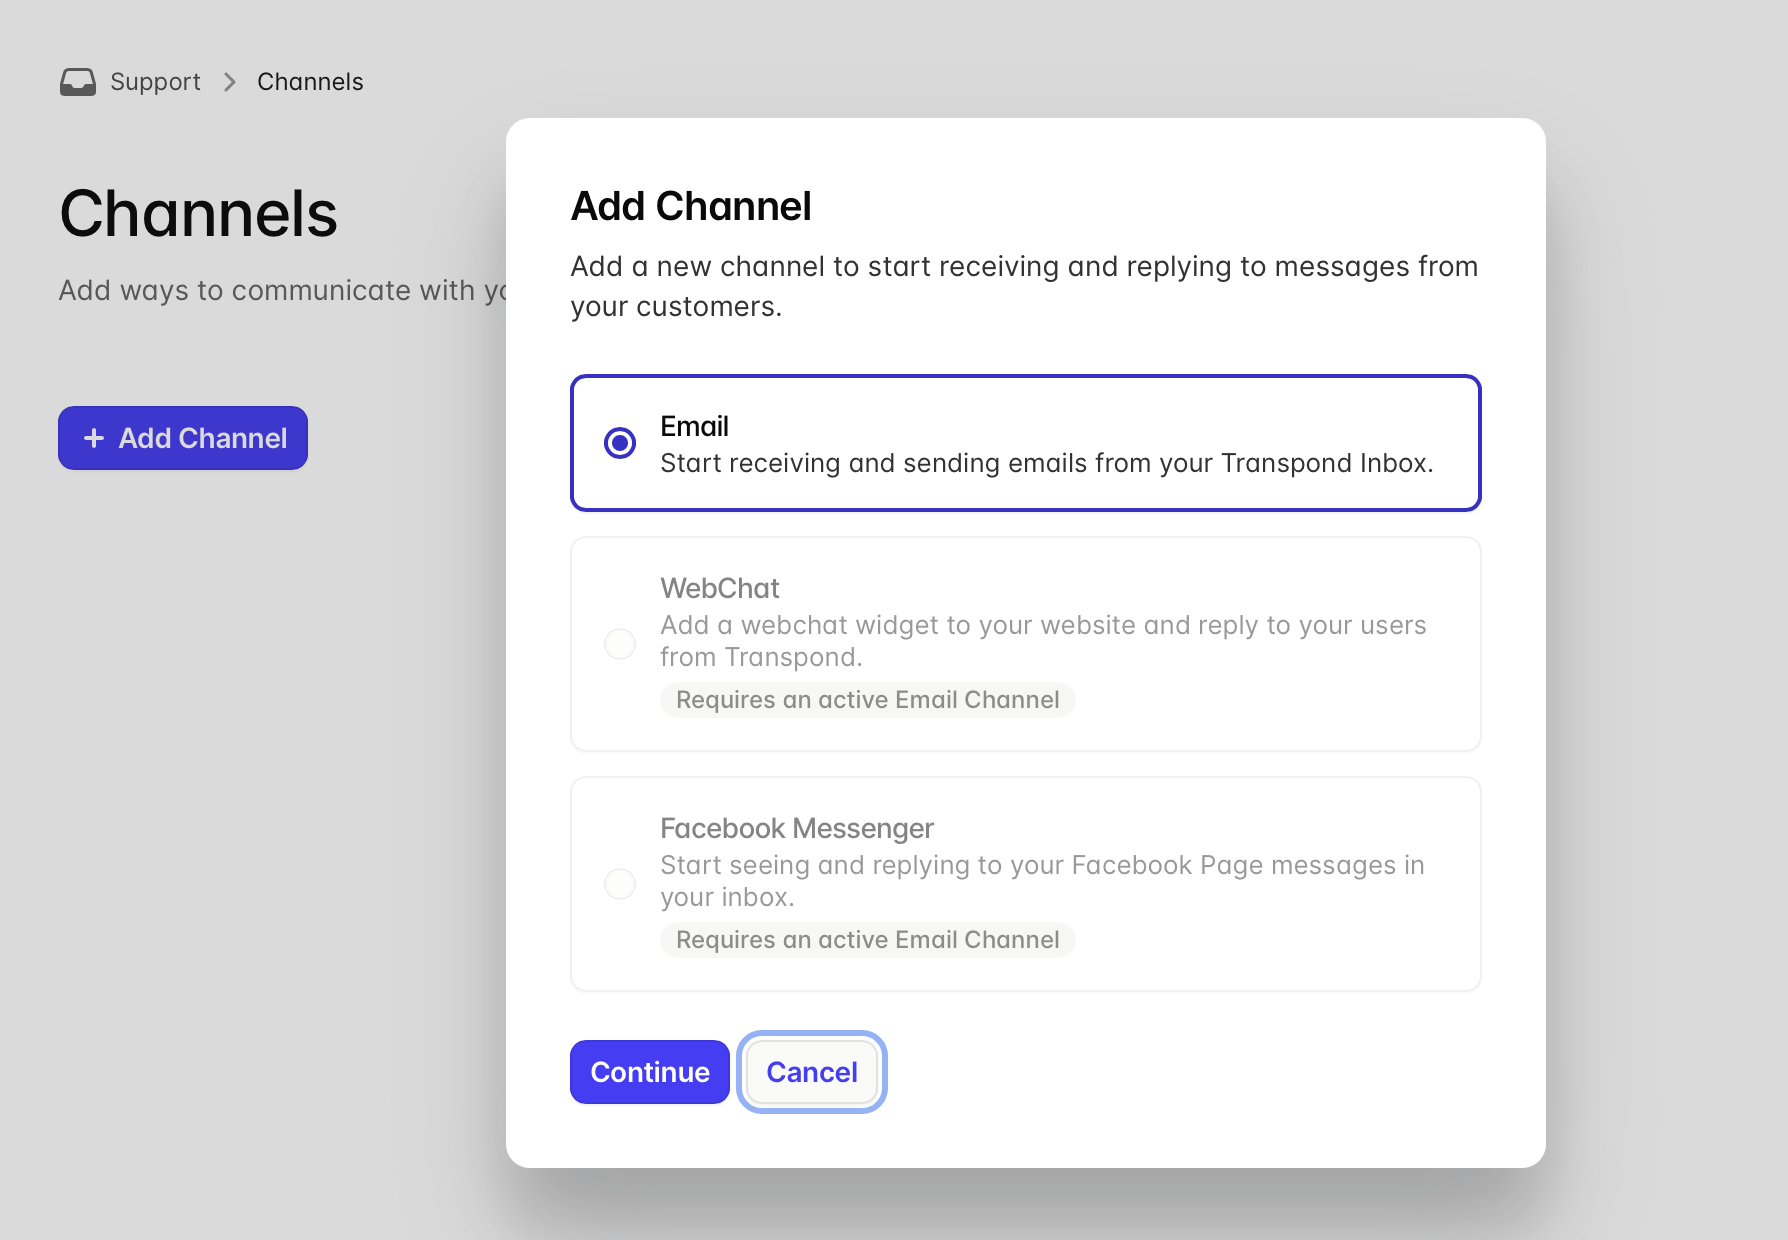
Channels are how customers contact you. Each Inbox must have at least one Channel.
Transpond supports:
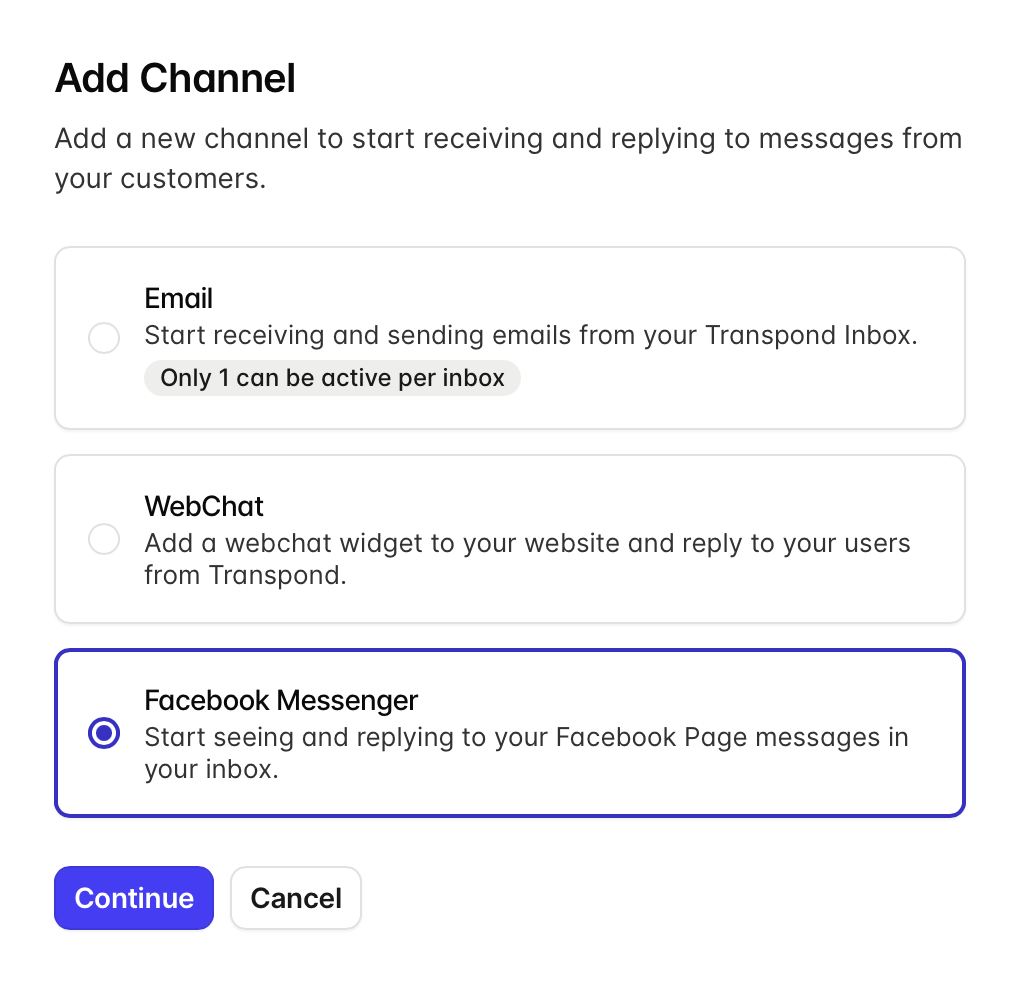
To add a Channel:
- Click your Inbox name in the top-left corner
- Go to Channels
- Click + Add Channel
- Select the channel type you want to use
Each channel will route messages directly into your Inbox.
Setup for Web Chat Channels
Web Chat lets visitors message you directly from your website.
To set up Web Chat:
- Go to Channels > + Add Channel.
- Select Web Chat.
- Copy the tracking script provided.
- Add the script to your website.
- Return to Transpond and confirm which sites Chat should appear on.
- Click Create Channel.
Once active, the chat widget will appear on your selected pages.
If you already have website tracking setup on your site then you don't need to add a separate script to your website
Setup for Email Channels
Email Channels bring customer emails into your Conversations Inbox.
To set up Email:
- Go to Channels > + Add Channel.
- Select Email.
- Enter the email address and sender name you want to use.
- Next, Transpond needs to make sure that your domain is authenticated. If you've already been using your domain for Transpond, then it should already be, but if not, you will need to authenticate your domain first.
-
Once your domain has been authenticated, Transpond will provide a forwarding address to configure. This forwarding address allows emails from your inbox to be routed directly into the Transpond Inbox, so your team can manage conversations in one place.
Please note that domain authentication can sometimes take a little time to complete, so you may need to return to this page later before continuing with the forwarding setup.
- Confirm the forwarding connection is working.
Once complete, incoming emails will appear in your Inbox automatically.
Tip for Gmail & Outlook users: If you’re unable to enable reply tracking due to OAuth requirements, turning on Conversations will still allow campaign replies to be tracked automatically.
Setup for Facebook Messenger Channels
If you use Facebook Messenger, you can connect it to Conversations.
To set up Messenger:
- Go to Channels > + Add Channel.
- Select Facebook Messenger.
- Connect your Meta account, if you've not already. To connect Transpond to your Meta account, click the button to Connect and then authenticate with your Facebook/Meta credentials (select all that apply if you manage multiple Facebook/Meta accounts).
- Choose the Facebook Page you want to connect.
- Click Create Channel.
Messages from Facebook Messenger will now appear in your Inbox.
What happens next
Once your Inbox and Channels are set up, all incoming messages will appear in your Conversations Inbox. From here, your team can:
- Reply to chat and email messages in one place
- Assign conversations to team members
- Use AI Assistants to help respond faster
- Manage customer communication alongside contact data