Import Contacts
You can quickly add contacts to Transpond by importing them from a spreadsheet. The import tool supports both Excel (.XLSX) and CSV files, and lets you map your spreadsheet fields to the corresponding fields in Transpond, including Custom Fields.
Who can use this feature? Anyone
Available on: Free, Starter, Growth, Advanced and Ultimate
Before you start
Before importing your contacts, make sure your spreadsheet meets the following requirements:
- Each contact must have an email address. Transpond uses email addresses to identify contacts, so rows without an email address will be ignored.
- Use a single-tab spreadsheet. Transpond only imports data from the first tab of your spreadsheet.
- Excel and CSV files are supported. We recommend using an Excel (.XLSX) file where possible, as it provides more structure and is less likely to cause formatting issues than a CSV file.
- Special characters are supported. You can import names and other information containing foreign-language or special characters.
- Organisation or company names cannot be imported. There isn't a corresponding Organization or Company field available in the import tool. If you're syncing contacts from Capsule, organization information can be synced across, but it can't be added through a spreadsheet import. So instead - you can use the import tool within Capsule, and have it sync to Transpond.
Tip: CSV files use commas to separate fields. This can cause issues if your data contains commas. For example, an address such as
221B, Baker Streetcould be interpreted as two separate fields. Using an Excel file can help avoid these formatting issues.
Import your contacts
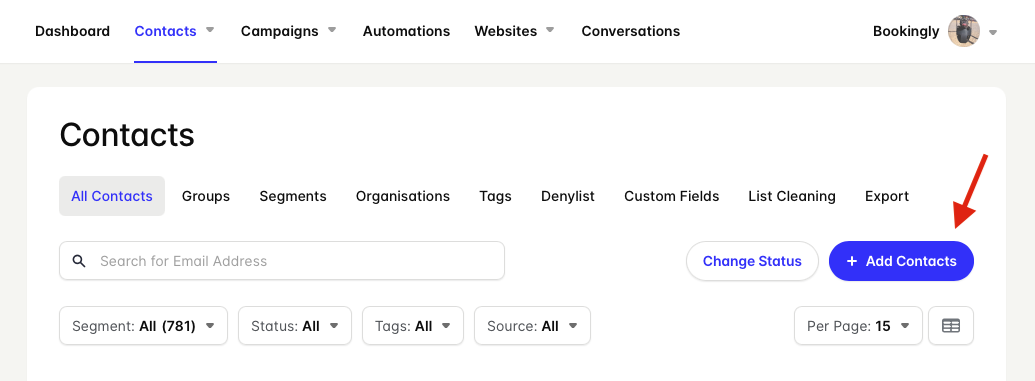
- In Transpond, go to Contacts > Add Contacts.
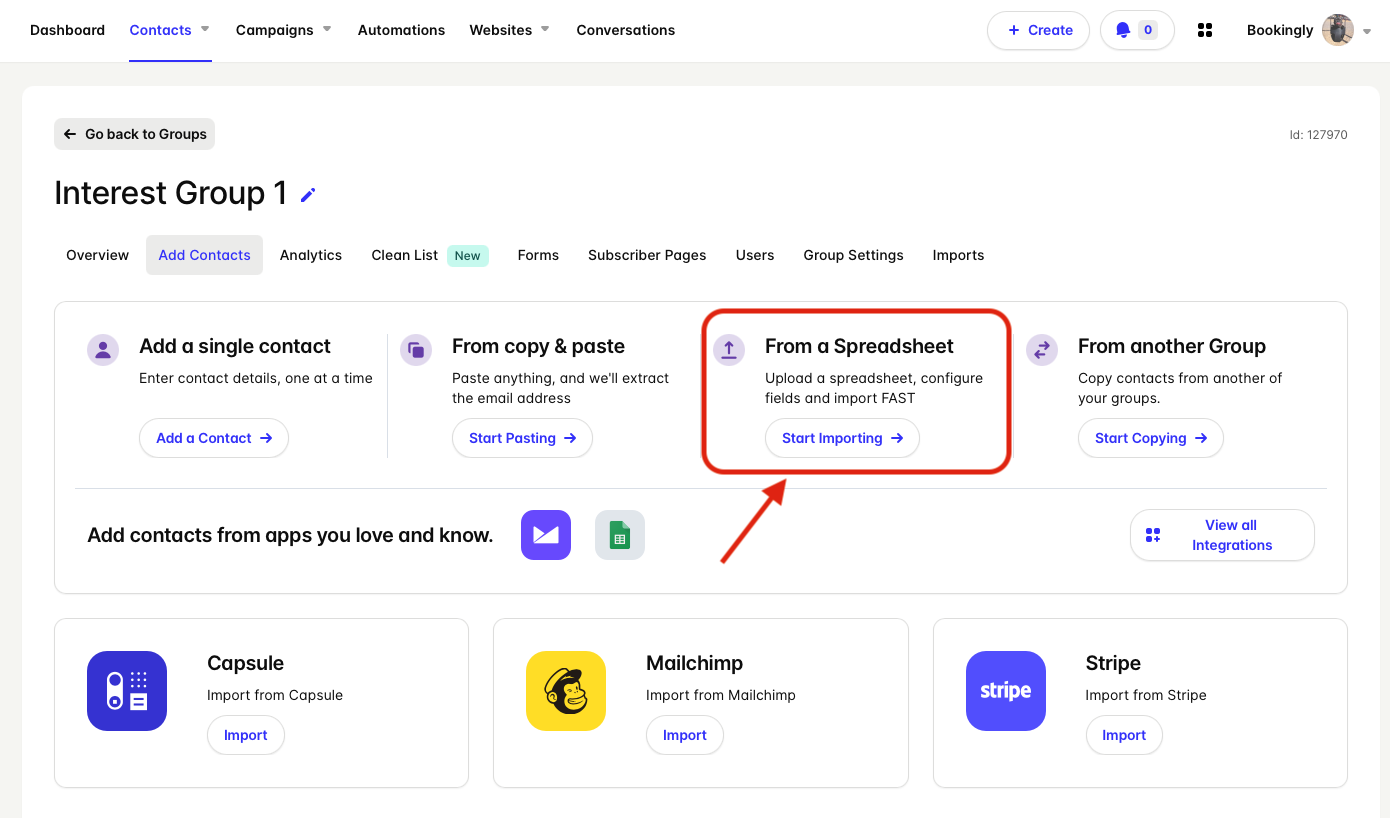
- Choose the Group you want to add your contacts to.
- Select the option for From a Spreadsheet, and upload your XLSX or CSV file.
- Choose the appropriate Status for the contacts you're importing.
- If any of the email addresses already exist in another group, choose how you want Transpond to handle these contacts.
-
Map the fields in your spreadsheet to the corresponding fields in Transpond.
You can map standard contact fields as well as any Custom Fields you've created.
- Review your field mappings and complete the import.
Once the import is complete, your contacts will be added to the selected group with the information from your spreadsheet.
Import options explained
When importing your contacts, Transpond gives you a couple of options that determine how the imported contacts are added.
Status
The Status determines the status assigned to the contacts you're importing - such as Active, In-Active, and Unsubscribed. Select the status you want these contacts to have when they're added to Transpond. If you'd like to learn more, we also have an article about Status in Transpond
Contacts already in another group
If an email address in your spreadsheet already belongs to a contact in another Transpond group, you can choose how the import should handle it. This allows you to control what happens when Transpond finds an existing email address, rather than creating a duplicate contact.
Select the appropriate option during the import process based on how you want the existing contact to be handled.
Troubleshooting your import
If some contacts aren't imported, check the following:
- The contact has a valid email address in the spreadsheet.
- Your data is on the first tab of the spreadsheet.
- Your spreadsheet doesn't contain unexpected formatting or additional columns that haven't been mapped.
- If you're using a CSV file, check that commas within your data haven't caused fields to be separated incorrectly.